This article was last updated on <span id="expire-date"></span> days ago, the information described in the article may be outdated.
温馨提示,本教程右边有目录
把一个文件夹设置为你的 hexo 目录
在终端用以下命令就能设置,由于 npm 会拉取 hexo 仓库的文件,所以要用到 小飞机
1 | proxychains -q hexo init |
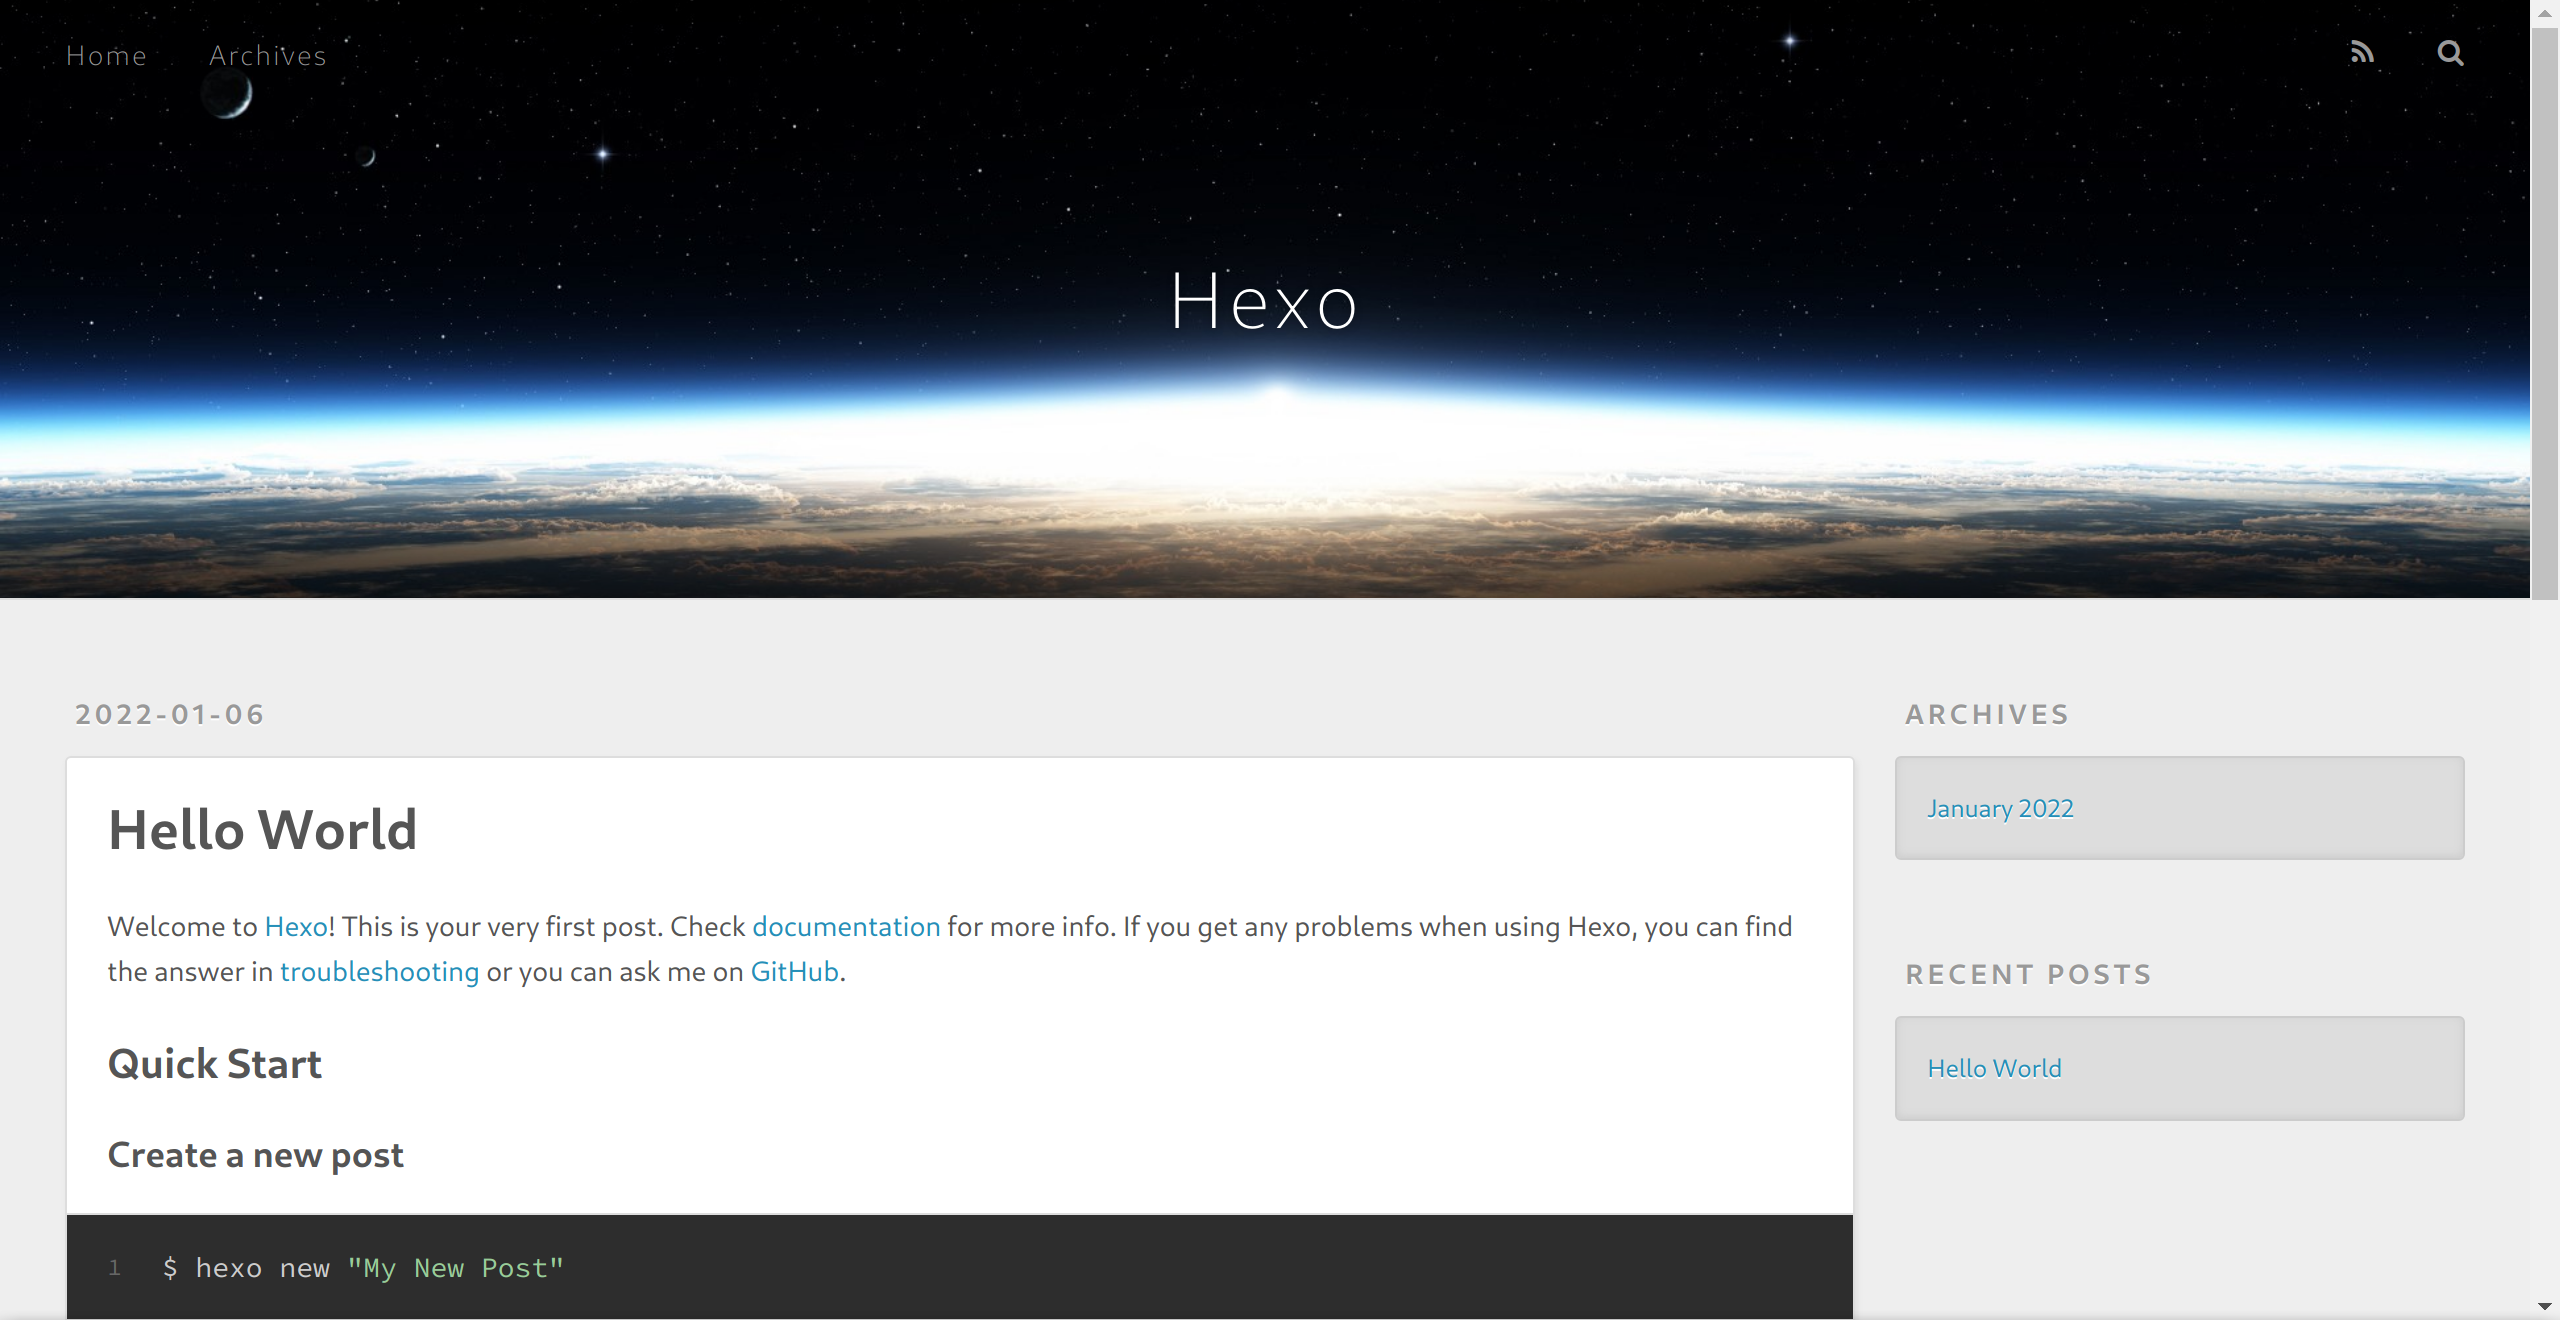
出现下图结果就是说明文件夹设置成功了

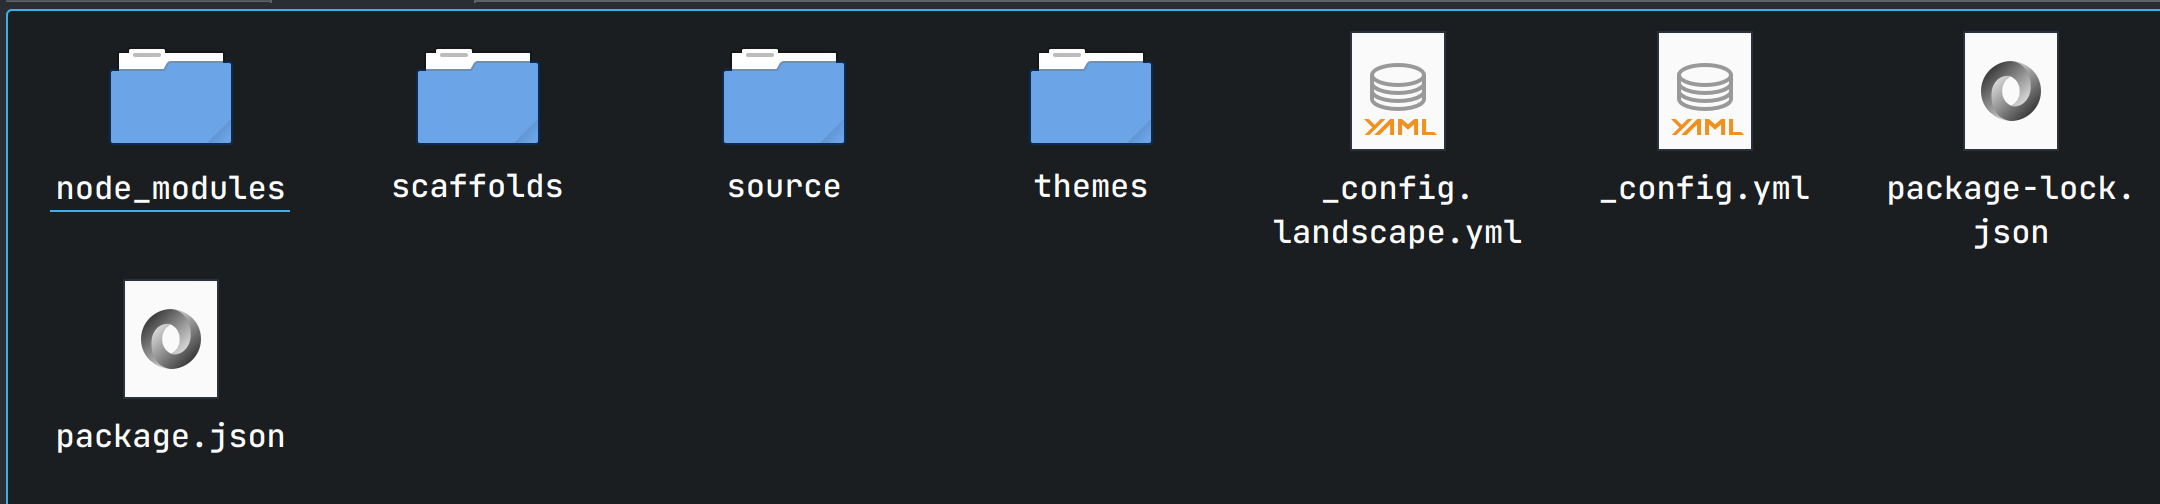
此时你可以看到以下文件
在终端运行以下命令 在本地运行博客 就可以查看最初始的博客啦
1 | hexo s |

按住 ctrl,鼠标单击网址,就能在浏览器中打开
给 hexo 换主题
默认的主题太丑了,换个跟我一样的 card 主题 (也可以去 Hexo主题网站 看一看其他的)
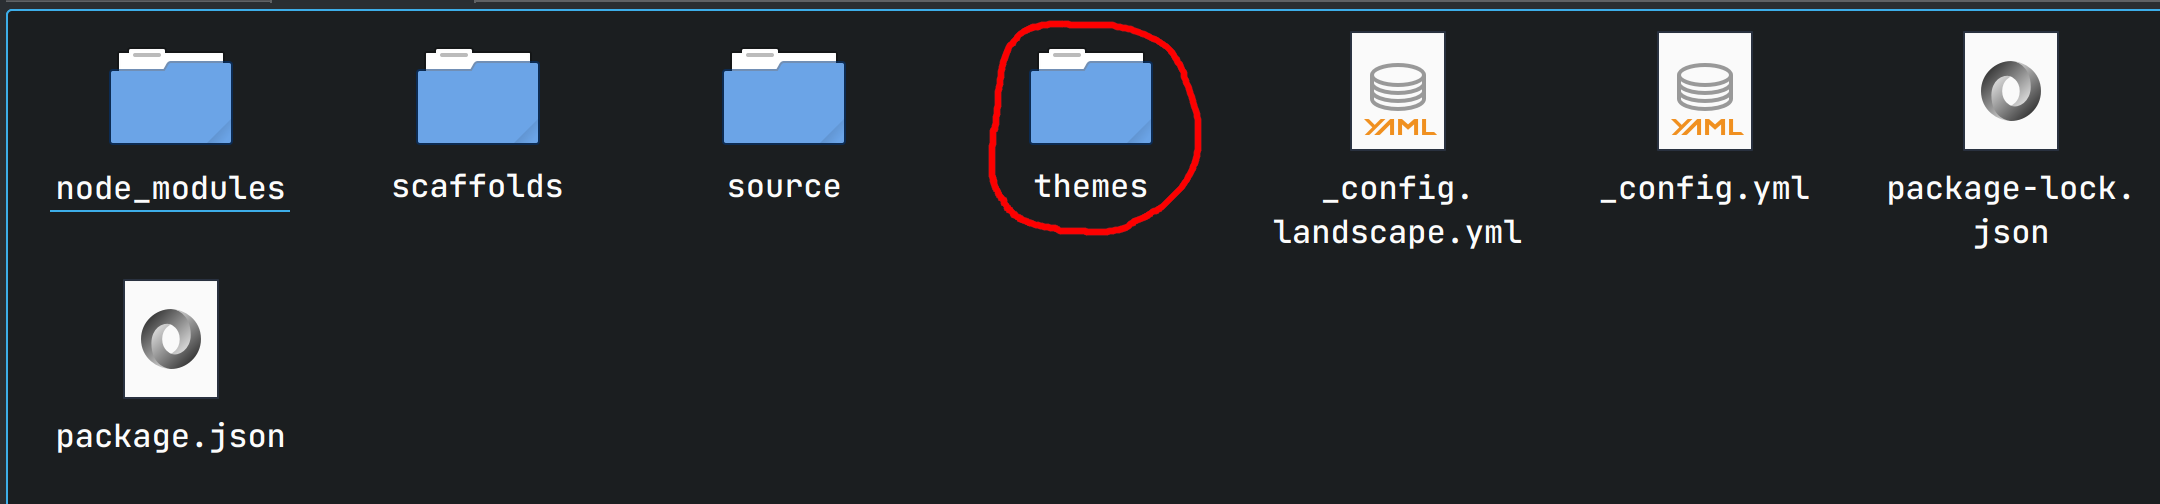
在 hexo 的 themes 文件夹中打开终端
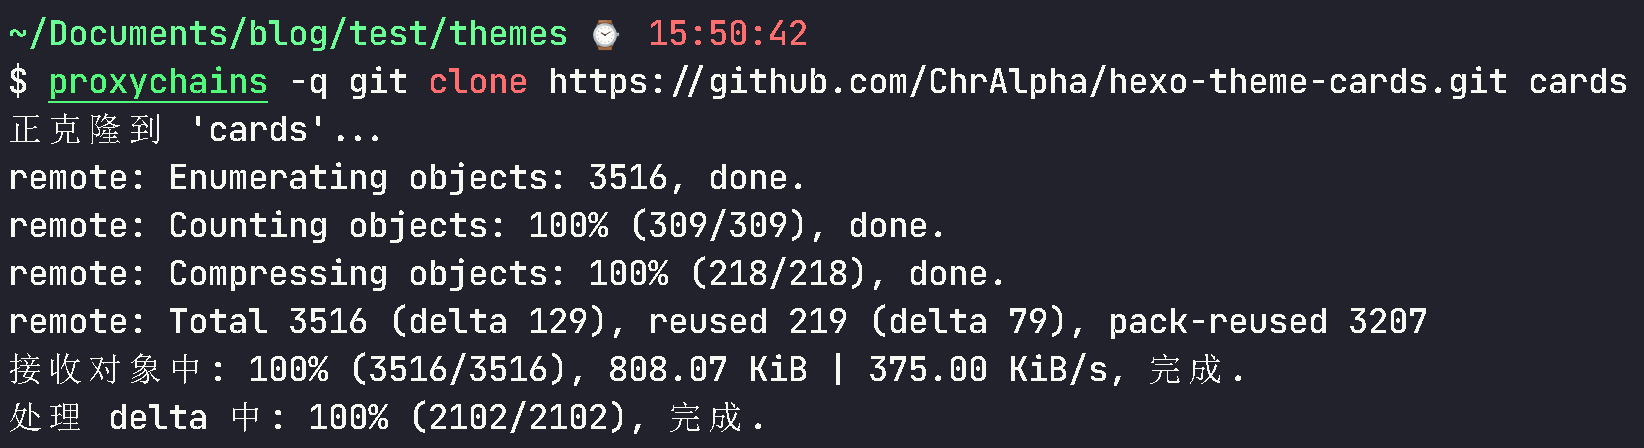
并运行以下命令把 card 的仓库拉去下来
1 | proxychains -q git clone https://github.com/ChrAlpha/hexo-theme-cards.git cards |
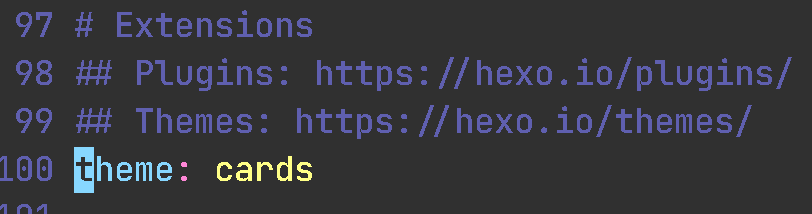
回到 hexo 的文件夹中,编辑 _config.yml 启用主题
1 | cd .. |
搜索 theme,改为 cards。(vim 中搜索的命令:输入"/",然后输入要搜索的字符串)
再运行以下命令看一看主题是否生效
1 | hexo g # 生成文件 |
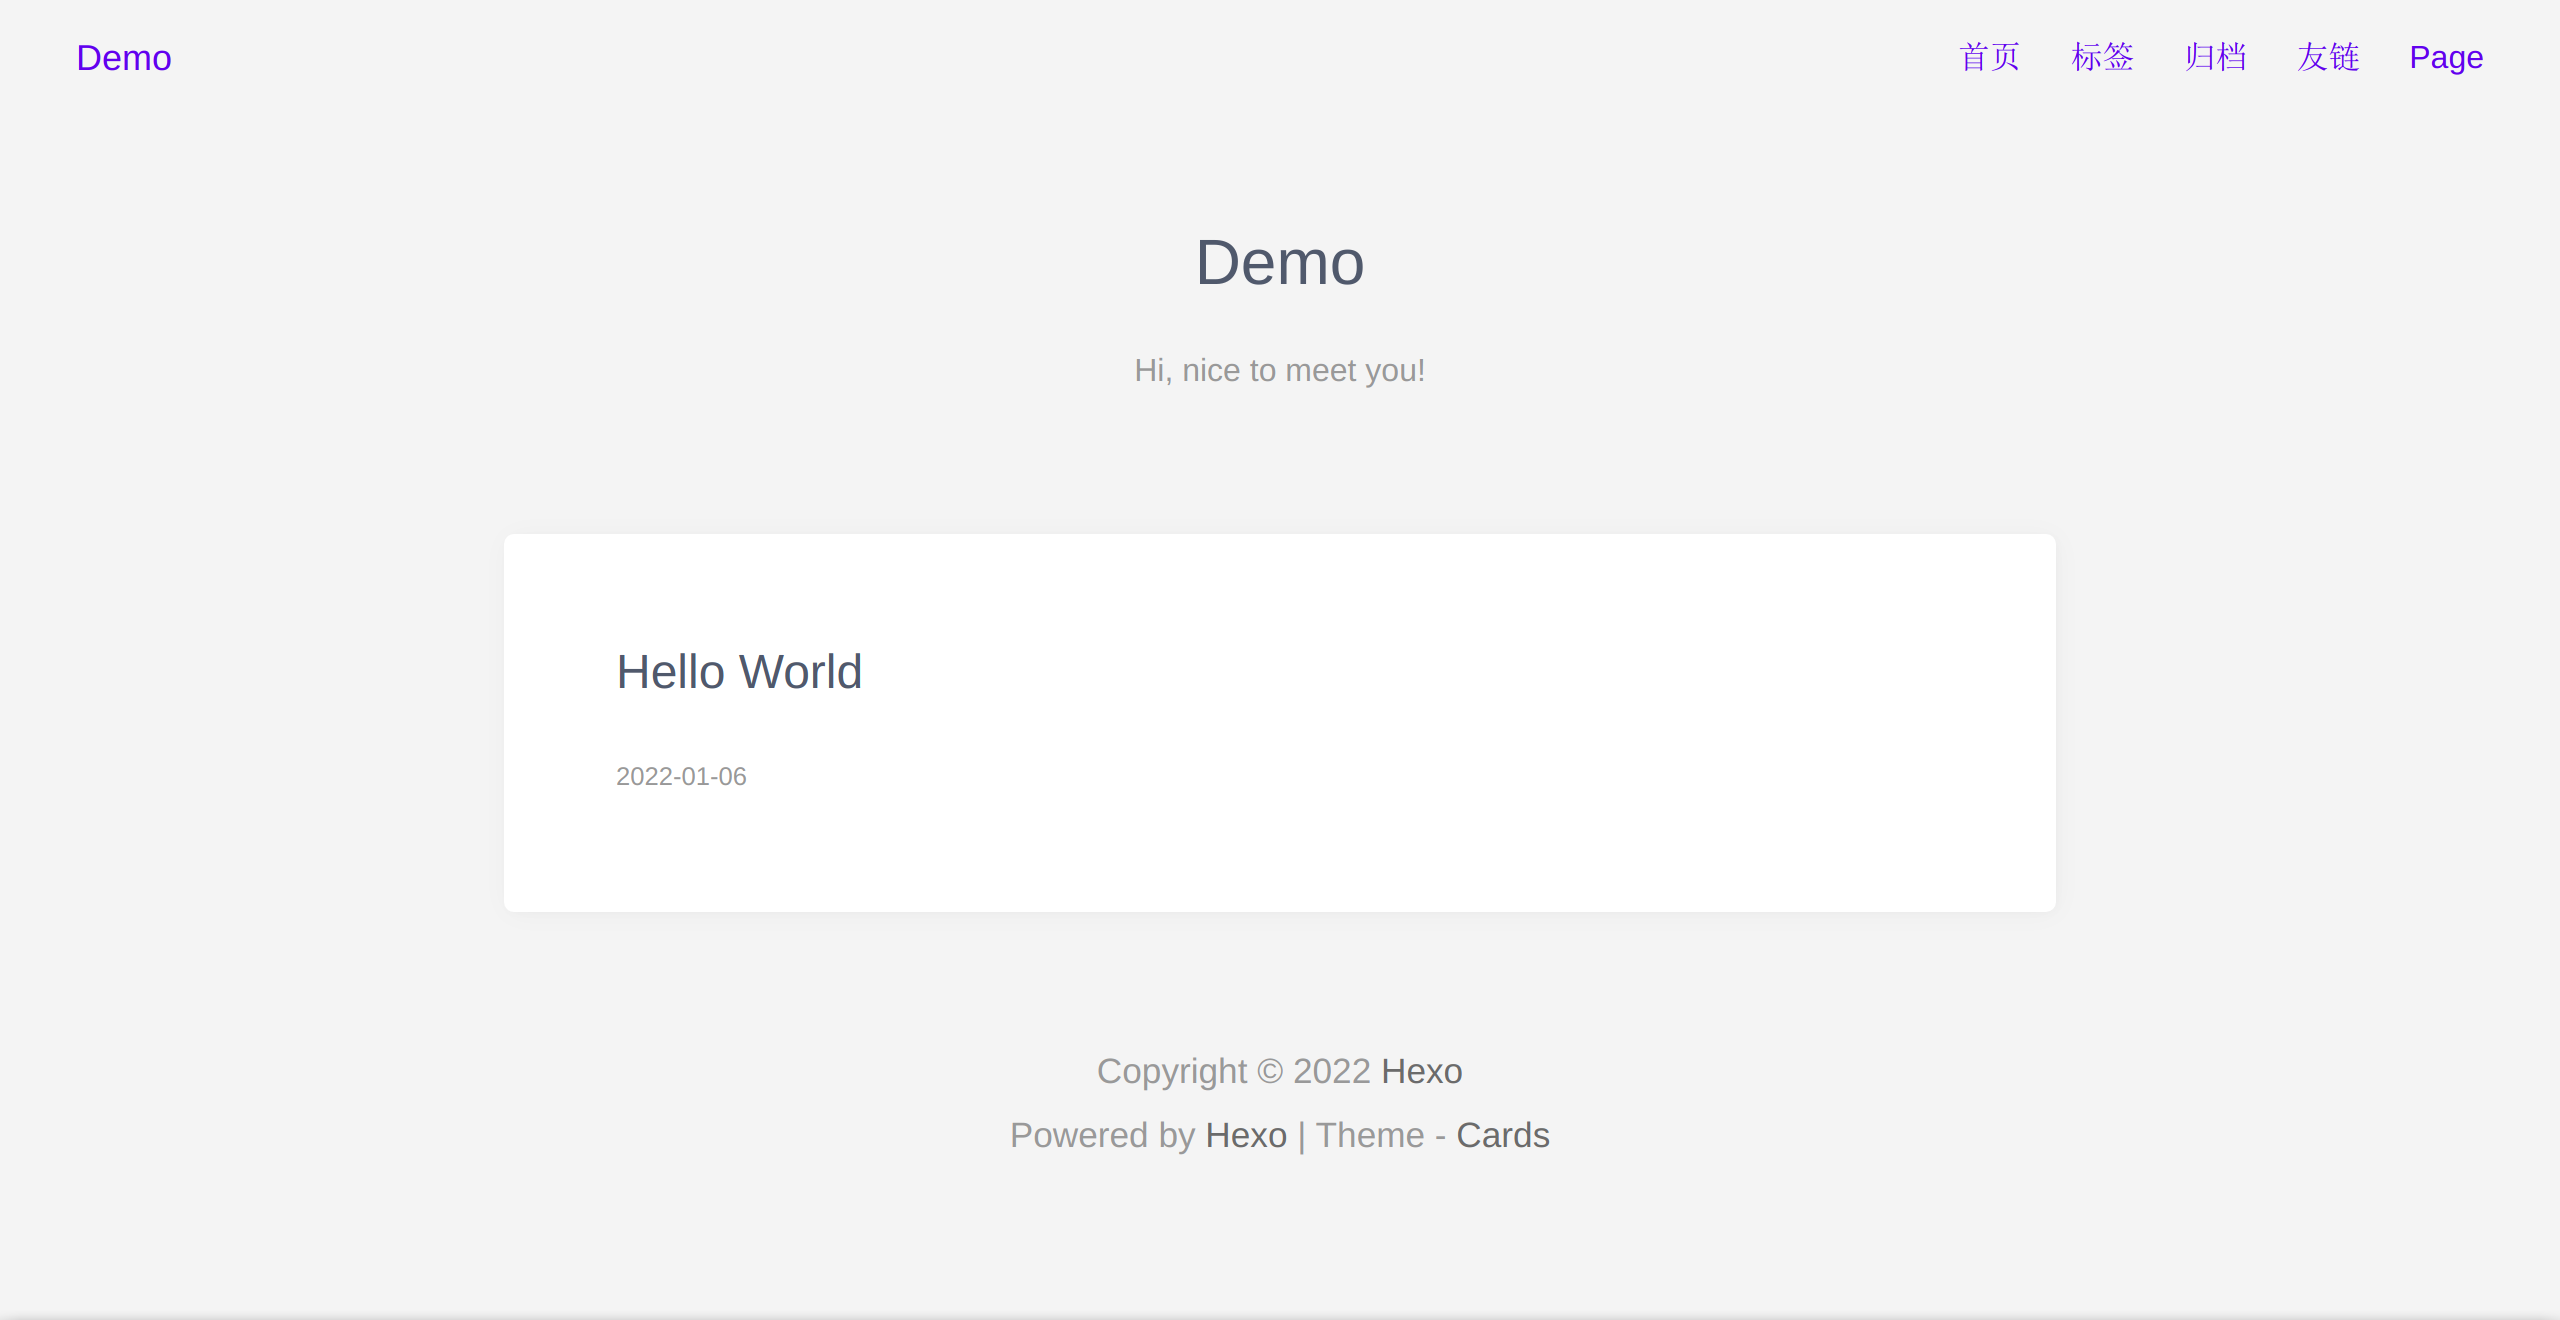
主题改了,好耶
主题个性化
可以看到这个主题有许多地方是不太想出现的,比如左上角的名称叫 Demo,还有右上角的一些标签。
编辑 themes/cards/_config.yml 文件就能更改了
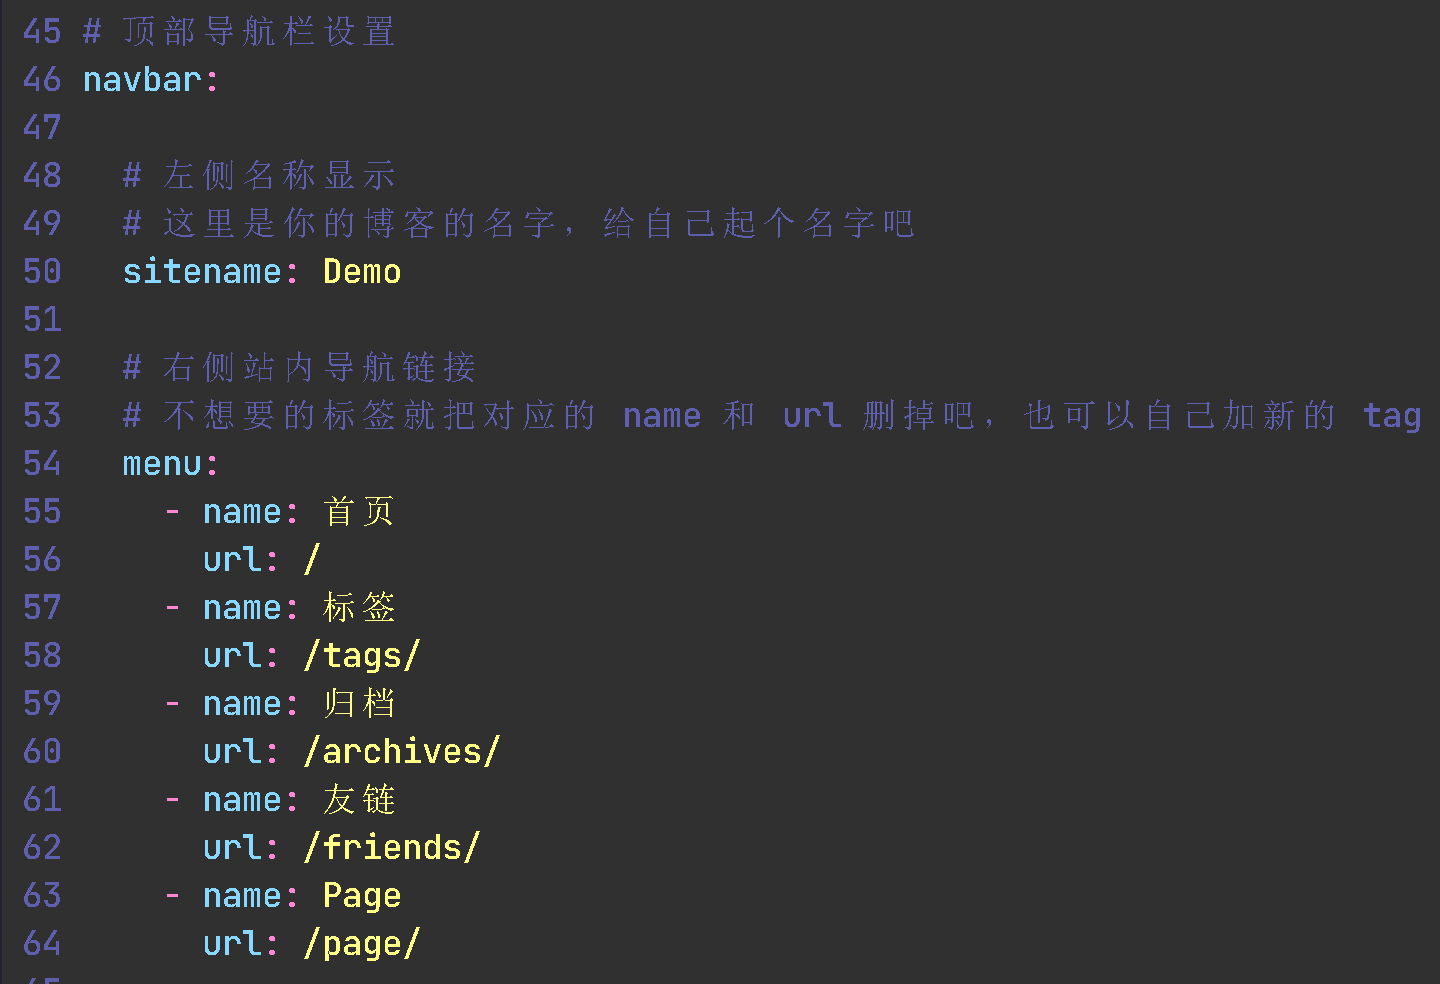
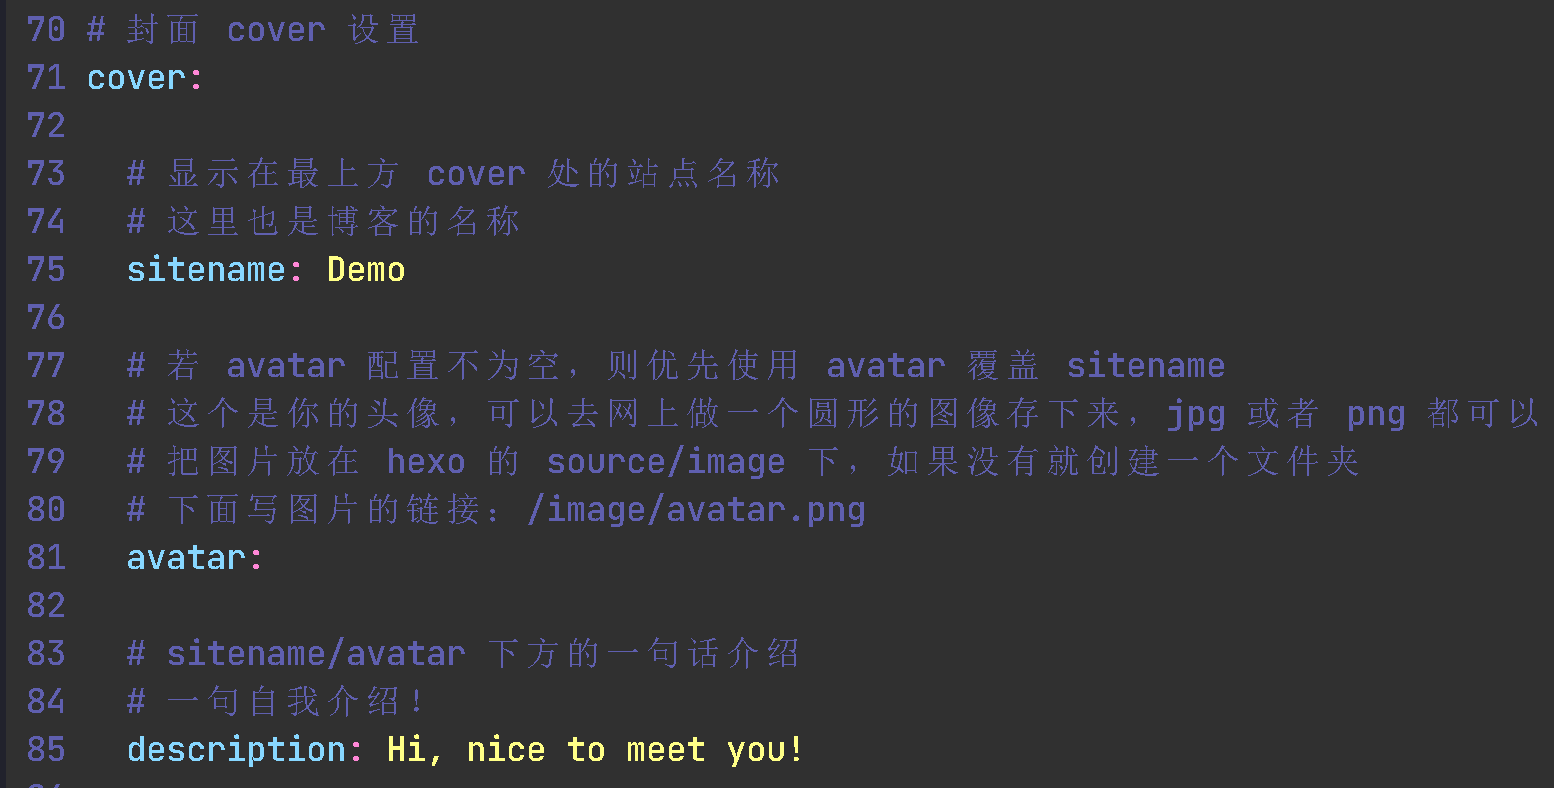
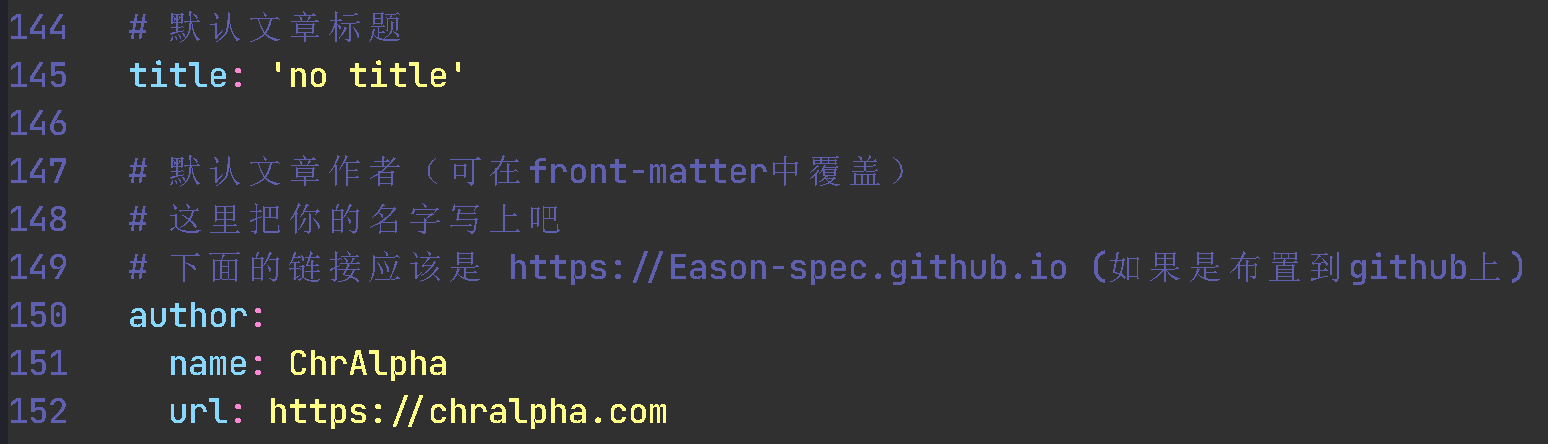

要加的文字在这里
本博客所有文章除特别声明外,均采用 [CC BY-NC-SA 4.0](https://creativecommons.org/licenses/by-nc-sa/4.0/\) 许可协议。转载请注明来自 [Syizeのblog](https://syize.github.io)!
到这里基本配置就搞好了,可以再执行下面的命令运行看看效果
1 | hexo g |
布置到 Github 上
Github 上的设置
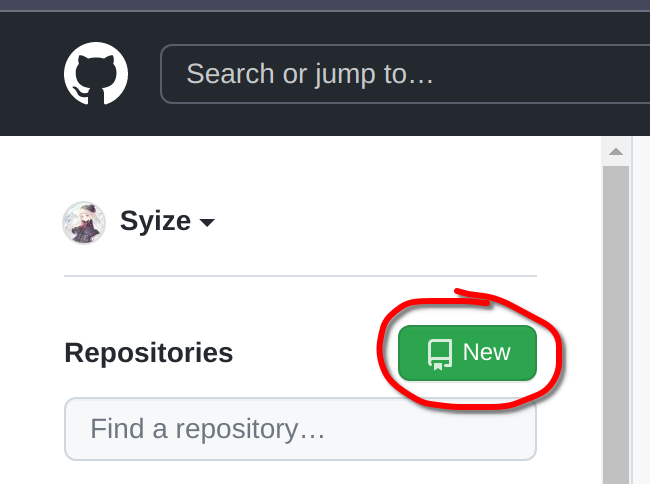
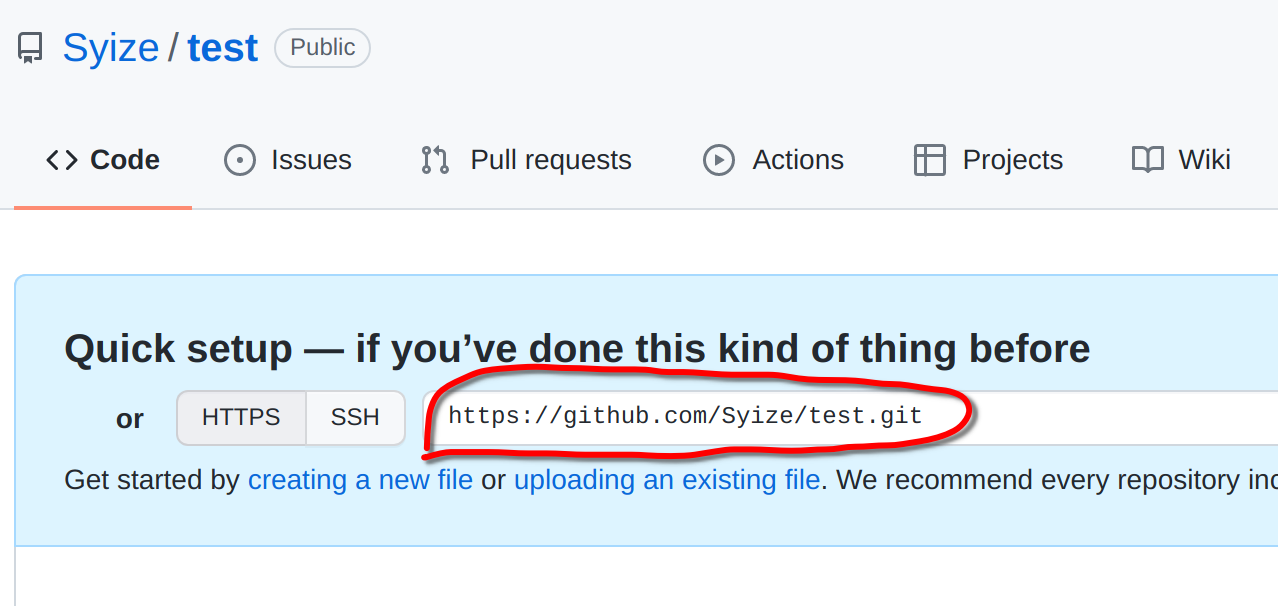
首先打开你的 Github 页面,点击 new 新建仓库
仓库要命名为:你的github名字.github.io。注意要保持完全一致,大小写也要一样!
我的已经建好了,所以提示名字重复
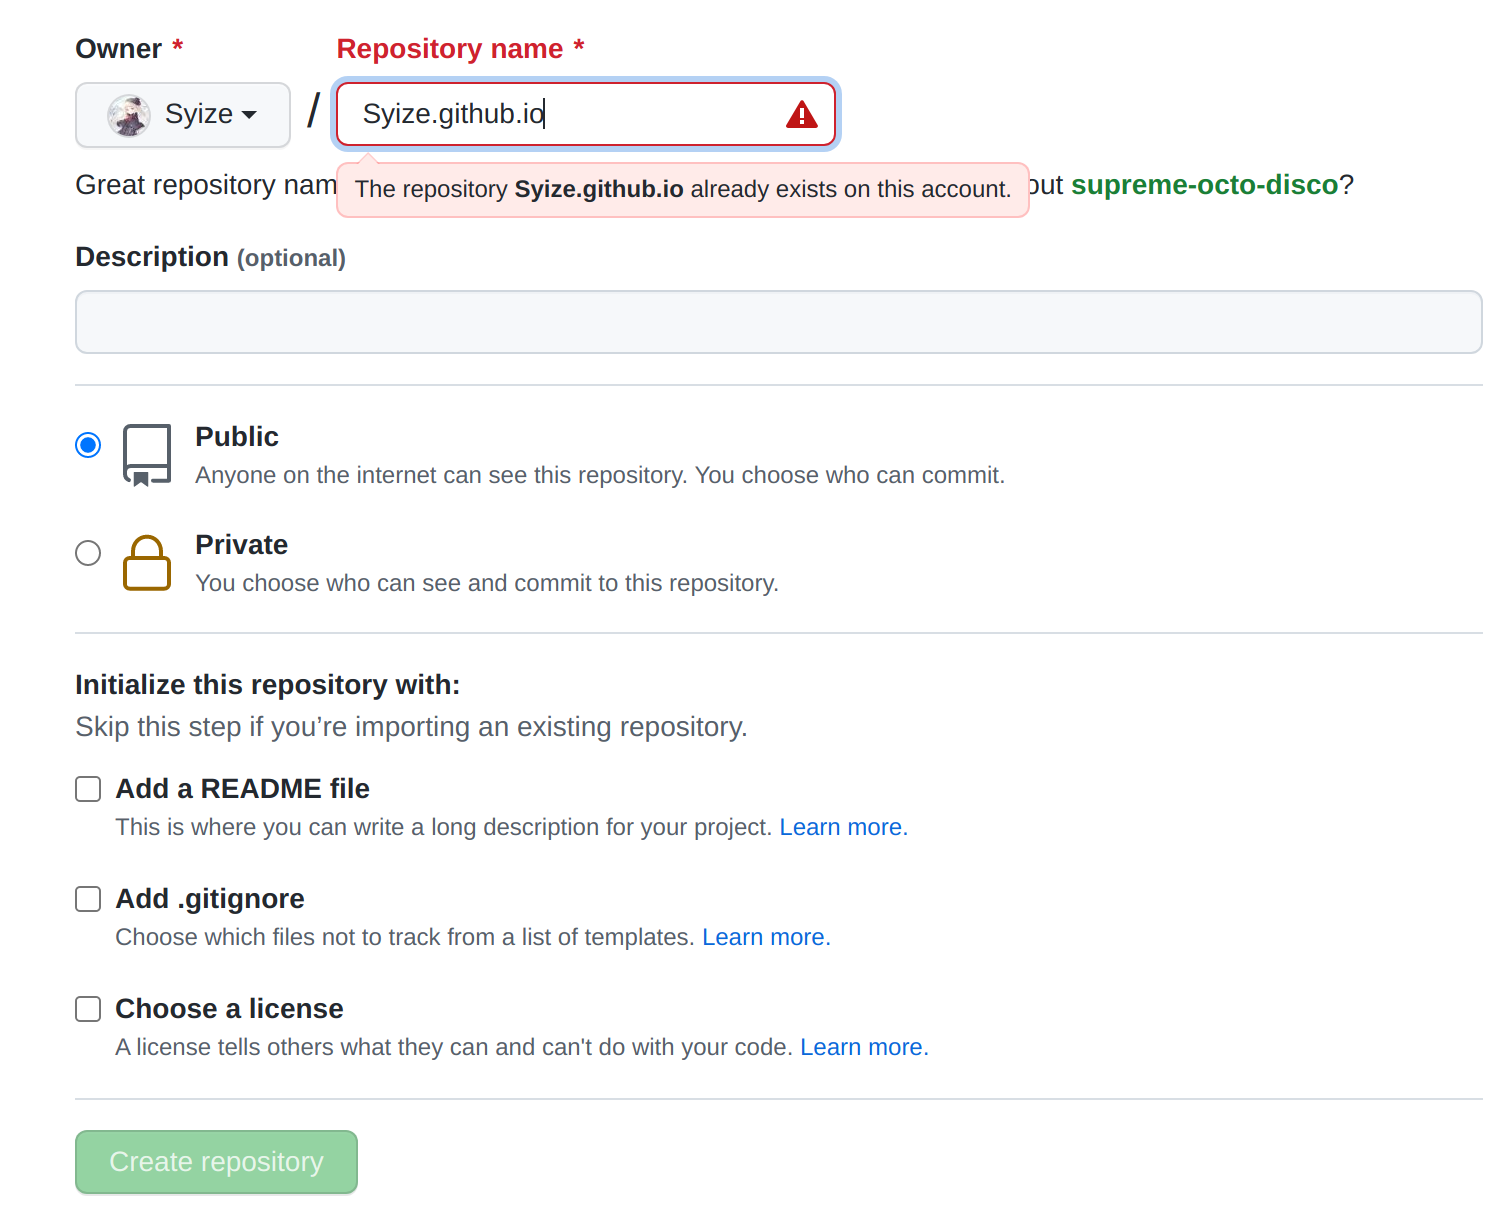
其他的不用改,直接 Create repository。
hexo 的设置
首先需要安装一个插件,让你可以把博客发布到 Github 上。终端运行以下命令
1 | # 要在 hexo 的文件夹里面运行命令 |
然后编辑 _config.yml 文件 (注意不是主题的 _config.yml!),修改最后的 deploy 选项
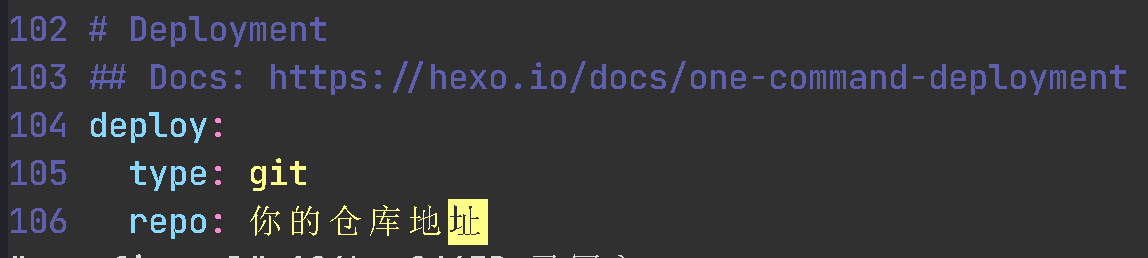
这里的仓库地址是 Github 页面上显示的仓库地址
也可以用 SSH 的地址,但是需要提前生成好密钥,略麻烦,稍后再修改,先用 HTTPS 的吧
到这里设置基本上就结束了
开始写文章
1 | # 执行以下命令来生成一篇新的博客,强烈建议名称是英文的,这个名称是显示在网址上的,不是文章真正的名称 |

hexo 已经把新的博客所在的路径告诉我们了,打开对应的目录就能看到文章
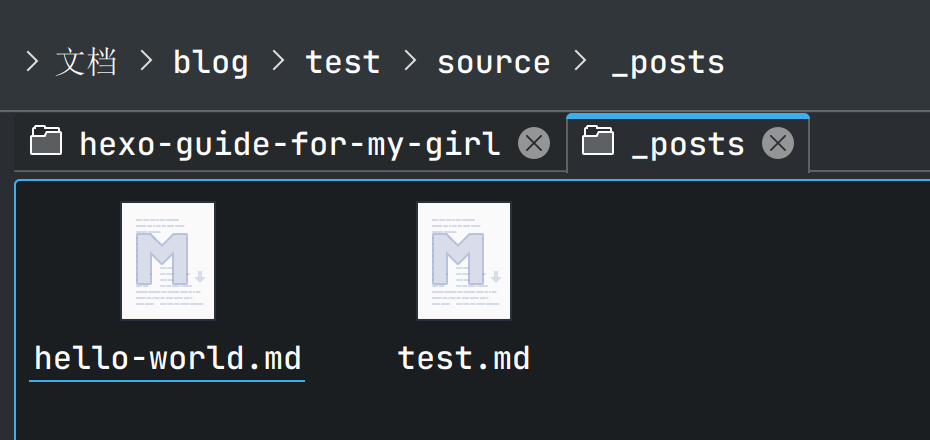
可以看到有一个 hello-world,这个是自带的,可以删掉不要了。
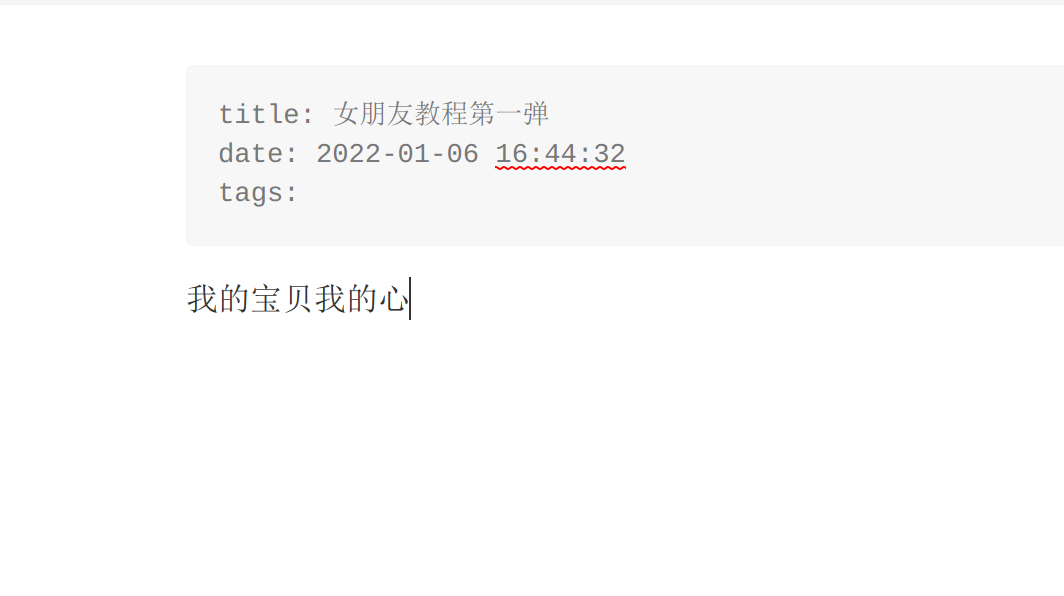
用 Typora 打开进行编辑,修改最上面的 tittle 为文章的名称,在下面写一点内容,保存
然后执行以下命令就可以布置到 Github 上了!
1 | proxychains -q hexo g -d |
期间会要求你输入密码,这个密码就是你的 Github 的密码😋
最后访问你的博客地址 (你的仓库名称就是你的博客地址),看一下自己的成果
Author: Syize
Permalink: https://blog.syize.cn/2022/01/06/hexo-guide-for-my-girl/
本博客所有文章除特别声明外,均采用 CC BY-NC-SA 4.0 许可协议。转载请注明来自 Syizeのblog!
Comments