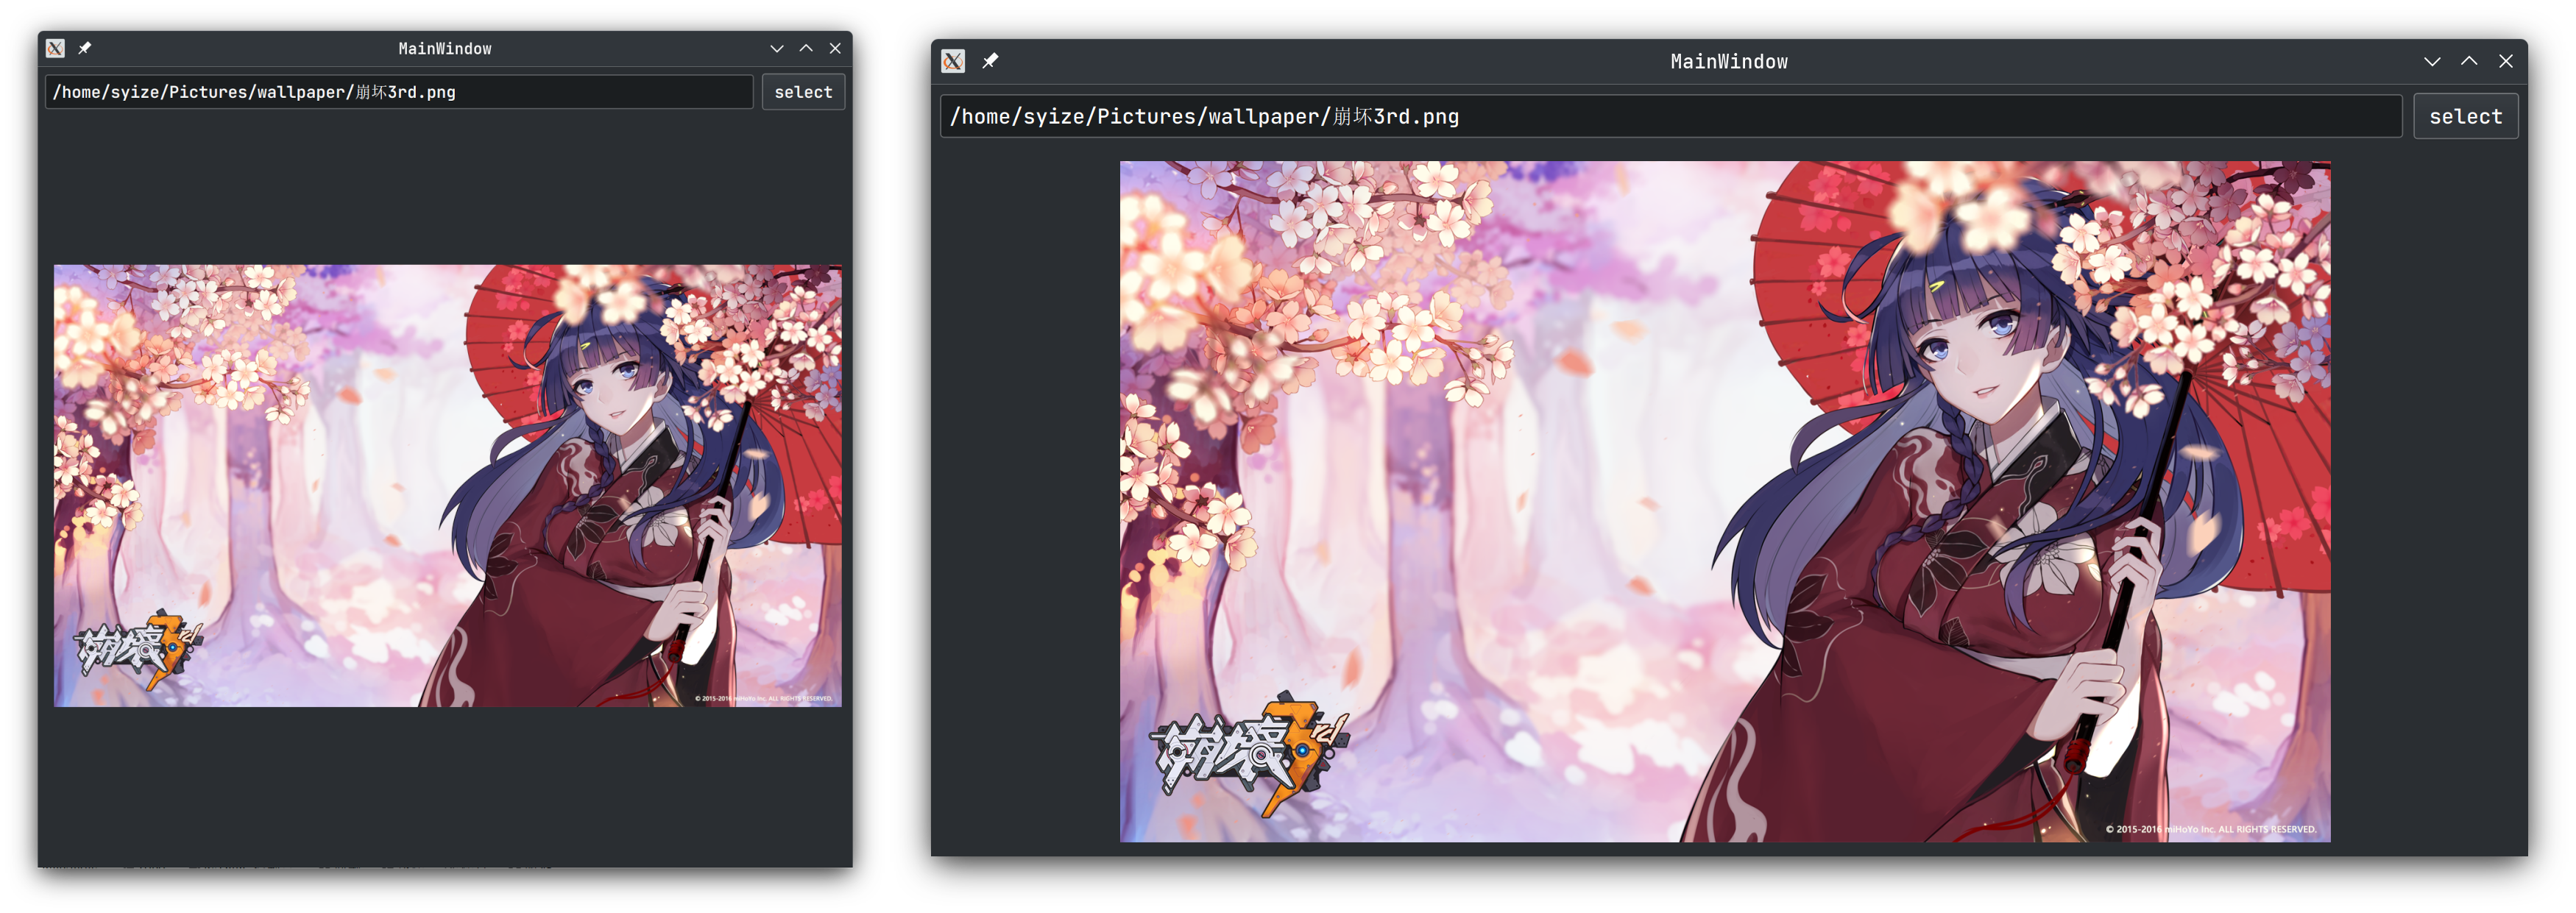
PyQt与matplotlib-画图软件(一):前篇

PyQt

This article was last updated on <span id="expire-date"></span> days ago, the information described in the article may be outdated.

前前言

前段时间用 Python 帮某市气象局的工作人员画了一下雷达图。最近他们又来找我,想整合一下之前的画图脚本,看看能不能写出一个带有图形界面的画图程序。一来想我们几个一起申请个软著,二来他们以后画图也方便。我正好会一些 Qt,借此机会再练练手,顺便赚亿点钱花😋。

今晚研究了一下怎么用 Qt 展示图片,最后做出了不错的成果,单开一贴记录一下。做完了才想起来之前也跟着教程研究过怎么用 C++ 和 Qt 写一个图片展示器,最后没有成功,不了了之,没想到现在在 Python 上竟然成功了,好耶。那我之前挖的坑就不用埋了吧

创建项目

凭借着自己模糊的记忆用Qt Creator新建了一个项目,打开发现有点不对,怎么用的 PySide 啊。后来研究了一阵还是手动从 PySide 换到了 PyQt5,原因如下:

  • 默认生成的项目使用 PySide 的 QUILoader 加载 form.ui文件,但是这样 Pycharm 就不能正确提示变量的方法和属性了,很烦。
  • 不更换 PySide,只修改 QUILoader 部分代码的话,最后程序运行不了,会报错。

以下是更换后的代码:

1
2
3
4
5
6
7
8
9
10
11
12
13
14
15
16
# import 部分
import sys

from PyQt5.QtWidgets import QApplication, QMainWindow, QFileDialog, QWidget, QLabel
from PyQt5.QtGui import QPixmap, QResizeEvent
from PyQt5.QtCore import Qt

from form import Ui_MainWindow

# 类定义部分
class MainWindow(QMainWindow):
def __init__(self):
super(MainWindow, self).__init__()
# self.load_ui() # load_ui 函数不再使用,可以去除
self.ui = Ui_MainWindow()
self.ui.setupUi(self)

软件构思

整个程序的运行流程如下:

graph TD
    A((程序运行)) -- 点击 select 选择文件 --> B[显示路径,读取图片]
    B -- 图片经过处理后 --> C((显示图片))
    D(在窗口缩放过程中
动态改变图片大小以适应窗口) --> C

UI 布局

首先在 centralwidget 上添加三个部件:Line EditPush Button 以及 Widget,并栅格化布局,让三者可以随着窗口变化均匀填充满整个窗口。

然后在添加的 Widget 上添加一个 Label,位置居中摆放 (我找了好一阵都没有找到如何让 Widget 的子部件 Label 居中显示的设置,后面会使用程序进行计算让其居中显示,所以这里摆放大致居中即可)。

UI 设计完了,就可以用 pyuic 将 .ui 文件转换成 .py 文件了

1
pyuic5 form.ui -o form.py

选择图片文件

由于只需要选择单个文件,因此这里使用 QFileDialog.getOpenFileName 来获取文件的路径,该函数返回一个 tuple,第一个元素即文件的路径,第二个元素为文件对应的分类。

函数的定义

1
2
3
4
5
6
7
8
9
10
11
def getOpenFileName(self,
parent: Any = None, # 这个可以选择传入 self 或者 None
caption: str = '', # 这个字符串指定了打开文件选择窗口时窗口的标题
directory: str = '', # 这个是文件选择窗口展示的路径,可以使用相对路径
filter: str = '', # 这个是文件的分类过滤
initialFilter: str = '',
options: Any,
QFileDialog_Options: Any = None,
QFileDialog_Option: Any = None,
*args: Any,
**kwargs: Any) -> tuple[str, str]

这里详细解释一下 filter,它以字符串的形式指定了我们可以选择哪些种类的文件。例如传入 "Image(*.png *.jpg);;Txt(*.txt)" 时,我们可以选择带有以下三种扩展名的文件:

  • *.png
  • *.jpg
  • *.txt

不同的分类间以 ;; 进行分隔,() 内以空格进行分隔

定义选择文件的函数如下:

1
2
3
4
5
6
7
8
9
10
11
12
13
def select_file(self):
"""
select picture file and display it
:return:
"""
file_path = QFileDialog.getOpenFileName(self, 'getOpenFileName', './', 'Image Files(*.png *.jpg)')
print(file_path)
self.file_path = file_path[0]
if self.file_path == '':
# no file selected, maybe because `cancel` button is clicked
return
self.ui.selectLine.setText(self.file_path)
self.display_image()
字符串判空

在打开文件选择窗口后如果不选择文件直接点取消,函数也会返回一个 tuple:('', '')。此时需要对字符串进行判断并使用 return 结束函数。

显示图片

显示图片需要先用 QPixmap 读取图片文件,然后我们需要对 Label 的尺寸进行调整。

图片的缩放

我谷歌找了好久,图片的缩放要么就是凭借栅格化布局来实现,要么就是调整 Label 的尺寸然后设置图片适应 Label 大小来实现。

使用栅格化布局实现是不行的,因为图片会变形,所以这里的解决方法就是每次窗口大小变化以后,便对 Label 大小进行调整,并设置图片适应 Label 尺寸,以此保证对图片缩放的同时图片不变形。

关于图片大小和 Label 大小

由于我们之后会设置让图片填充满整个 Label,因此下面所说的 图像的大小 可以视为 Label 的大小

这里首先定义一个标准:宽高比,即 宽/高。在缩放图像的过程中,最后的展示结果可能有如下两种情况:

  • 图像的上下两侧有空白区域,此时图像的宽与 Widget 的宽一致
  • 图像的左右两侧有空白区域,此时图像的高与 Widget 的高一致

这两种情况关系到后面我们究竟让图像的哪一边与 Widget 一致。使用宽高比可以帮助我们进行判别。

  • Widget的宽高比 < 图像的宽高比,即说明假设 二者的高相同,图像的宽是大于 Widget 的宽的,此时需要对图像进行缩放,让图像的宽等于 Widget 的宽,便是第一种情况。
  • Widget的宽高比 > 图像的宽高比,则为上图第二种情况
  • 二者相等时的情况可视为上述情况之一。

讲到这里,我们就可以真正着手写代码了。

1
2
3
4
5
6
7
8
9
10
11
12
13
14
15
16
17
18
19
20
21
22
23
24
25
26
27
28
29
30
31
32
33
34
35
36
37
38
39
40
41
42
43
44
45
46
47
48
49
50
51
52
53
54
55
56
57
58
59
60
61
62
63
64
65
66
67
68
69
70
71
72
73
74
75
76
77
78
79
80
# 以下函数是写在 class 定义外的
def _get_widget_size(widget: QWidget):
"""
return specific widget width and height
minus 15 because the right side is narrower
获取 Widget 的宽和高,这里 - 15是为了让图片右边留出与左边差不多大的空隙,否则
显示出来的效果是左边有一段空隙右边没有,视觉上不对称。此数值可以自由调整
:return:
"""
return widget.width() - 15, widget.height() - 15
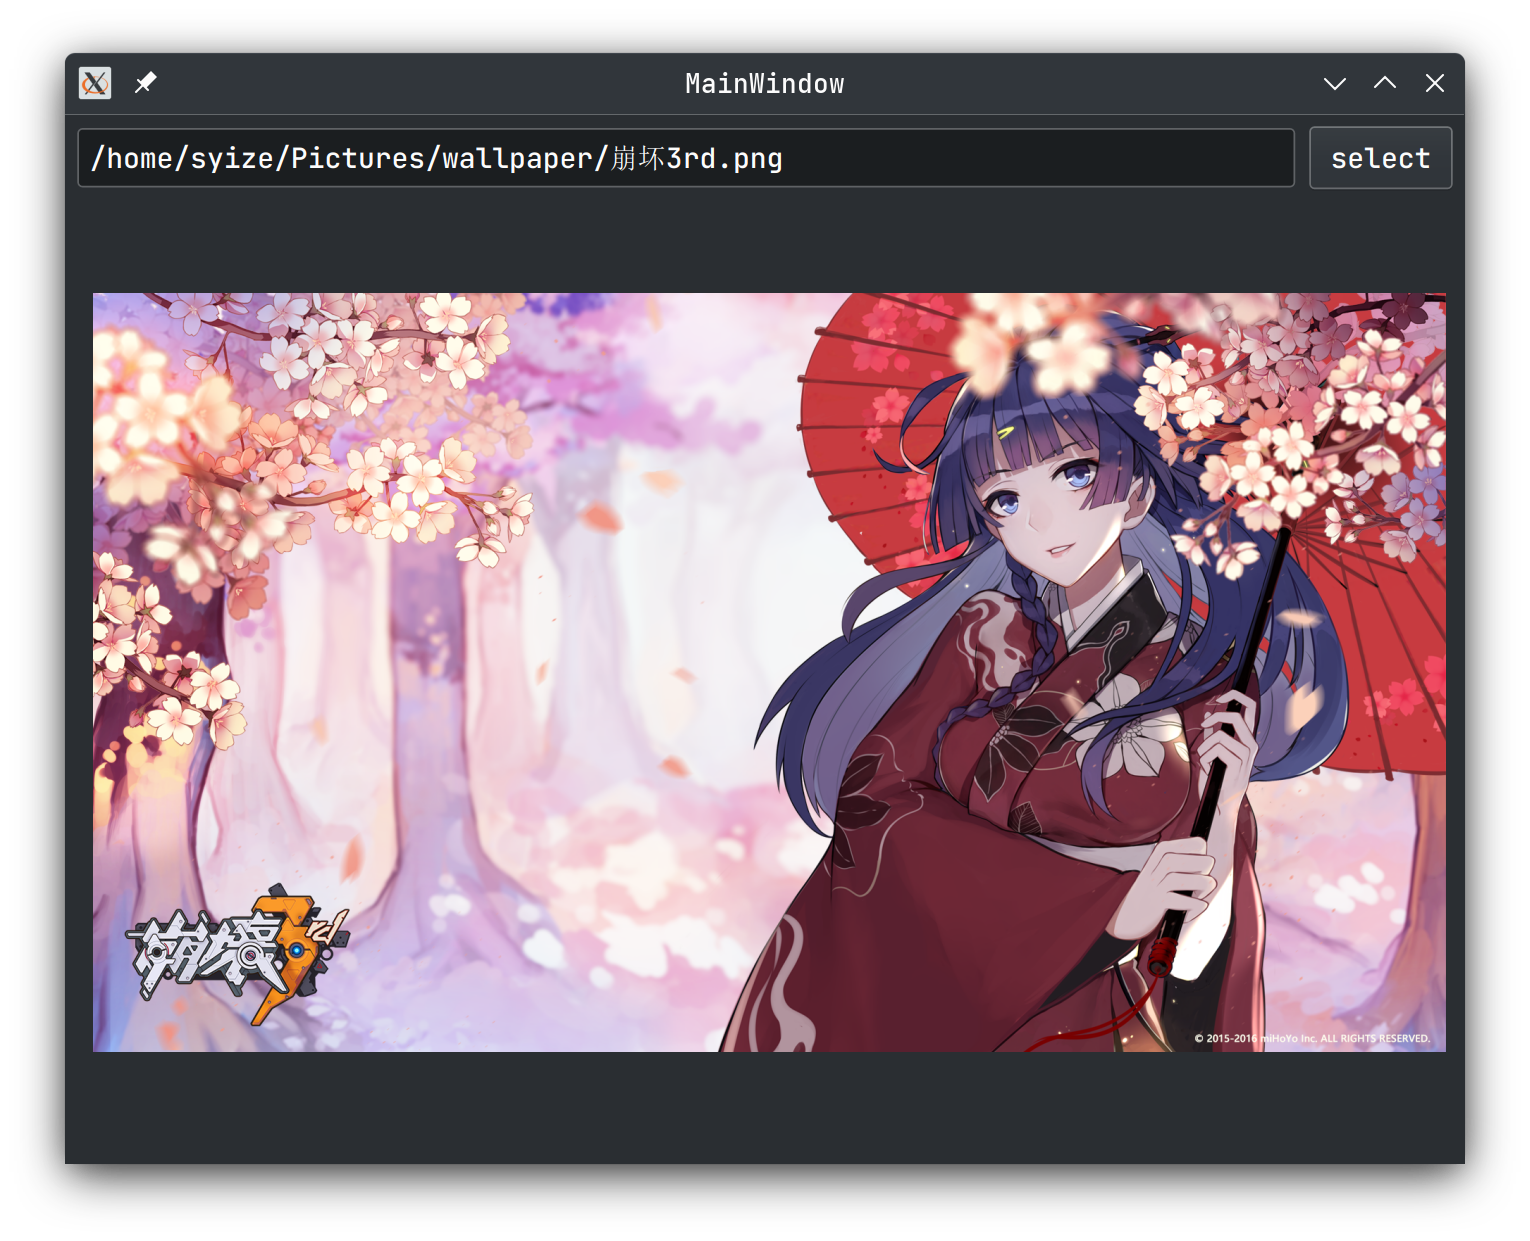
def _calculate_child_size(parent_size: tuple, child_size: tuple, hw_flag: bool):
"""
calculate child size base on its parent size to make it central
:type hw_flag: bool, if child_height == parent_height, True; otherwise False
:param parent_size: (width, height)
:param child_size: (width, height), child old size
:return:
通过 hw_flag 判断情况,并计算出缩放后的 Label 即图像的大小
"""
if hw_flag:
child_height = parent_size[1]
child_width = child_height * child_size[0] / child_size[1]
else:
child_width = parent_size[0]
child_height = child_width * child_size[1] / child_size[0]
return child_width, child_height
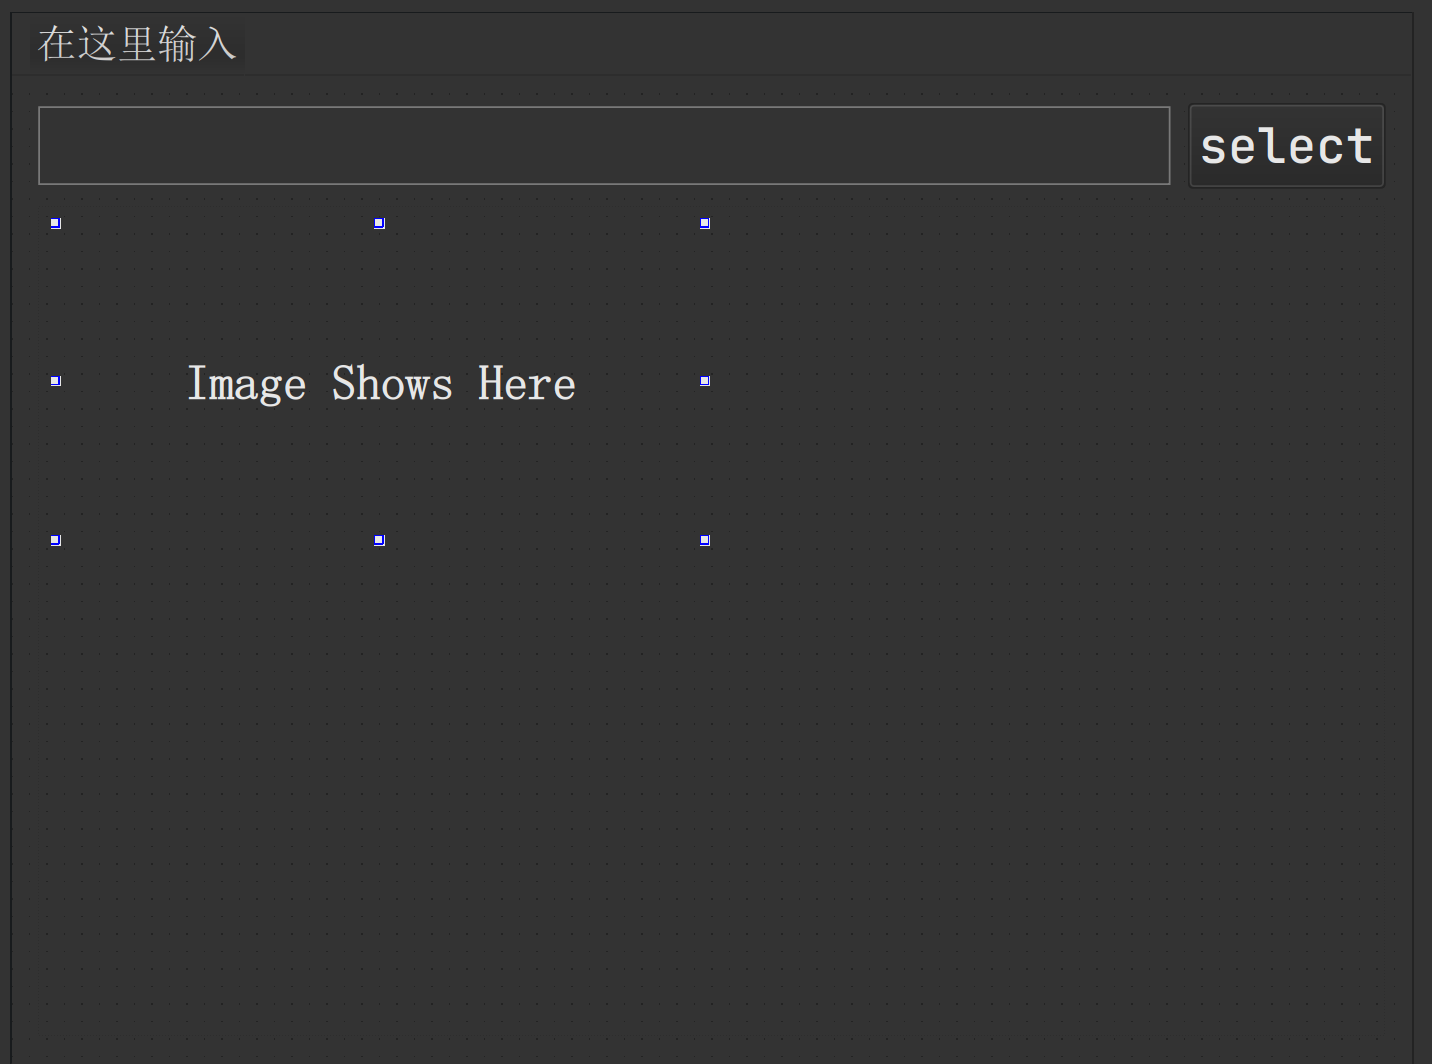

def _determine_hw_flag(parent_size: tuple, child_size: tuple):
"""
determine hw flag. If child_height == parent_height, True; otherwise False
:param parent_size: (width, height)
:param child_size: (width, height)
:return: bool
通过 宽高比 判断属于哪一种情况
"""
if (child_size[1] / child_size[0]) > (parent_size[1] / parent_size[0]):
return True
else:
return False

# 以下函数是 class 的函数
def display_image(self):
"""
read picture file and display it
:return:
"""
# 读取图片
pixmap = QPixmap(self.file_path)
# we need to let picture show correctly
pixmap_width = pixmap.width()
pixmap_height = pixmap.height()
# 这里首先记录一下图片的原始大小,方便后续动态调整大小。
self.picture_size = (pixmap_width, pixmap_height)
widget_width, widget_height = _get_widget_size(self.ui.imageWidget)
move_flag = _determine_hw_flag((widget_width, widget_height), (pixmap_width, pixmap_height))
image_width, image_height = _calculate_child_size((widget_width, widget_height),
(pixmap_width, pixmap_height), move_flag)
self.ui.imageLabel.setPixmap(pixmap)
self.ui.imageLabel.resize(int(image_width), int(image_height))
# 设置图片自适应 Label
self.ui.imageLabel.setScaledContents(True)
self.ui.imageLabel.setAlignment(Qt.AlignCenter) # 这一行似乎没有用,去掉也可以
# we need to move Label to the center of widget
# 现在需要将 Label 移动到 Widget 的正中间,move_flag 即 hw_flag,若上下留白则上下移动,否则左右移动
if move_flag:
step_length = int((widget_width - (10 + image_width)) / 2)
self.ui.imageLabel.move(10 + step_length, 10)
else:
step_length = int((widget_height - (10 + image_height)) / 2)
self.ui.imageLabel.move(10, 10 + step_length)

def init_action(self):
"""
bind function to slot
将 select_file 函数与 button 绑定,这样点击 button 之后就会触发函数进行执行。
:return:
"""
self.ui.selectButton.clicked.connect(self.select_file)

然后设置一下 classinit 函数

1
2
3
4
5
6
7
8
9
class MainWindow(QMainWindow):
def __init__(self):
super(MainWindow, self).__init__()
self.file_path = None
self.ui = Ui_MainWindow()
self.ui.setupUi(self)
# 设置窗口的最小大小
self.setMinimumSize(800, 600)
self.init_action()

运行程序,选择图片,应该就可以看到缩放后的、处于窗口正中的图像了。

动态调整大小

现在程序还有一个问题,窗口大小改变的时候,图片不会随着改变。需要重写 resizeEvent 函数监听窗口大小改变事件,对图像大小进行调整。思路与显示图片时相似,即事件触发时,获取 Widget 大小,重新计算图像大小,缩放,并移动 Label 至正中间。

class 下加入以下几个方法

1
2
3
4
5
6
7
8
9
10
11
12
13
14
15
16
17
18
19
20
21
22
23
24
25
26
27
28
29
30
31
32
33
34
35
36
37
def _make_label_central(self):
"""
move label to the center of its parent
:return:
"""
widget_width, widget_height = _get_widget_size(self.ui.imageWidget)
if self.picture_size is None:
label_width, label_height = _get_label_size(self.ui.imageLabel)
else:
label_width, label_height = self.picture_size
hw_flag = _determine_hw_flag((widget_width, widget_height), (label_width, label_height))
new_label_width, new_label_height = _calculate_child_size((widget_width, widget_height),
(label_width, label_height), hw_flag)
self.ui.imageLabel.resize(int(new_label_width), int(new_label_height))
if hw_flag:
self.ui.imageLabel.move(10 + int((widget_width - (10 + new_label_width)) / 2), 10)
else:
self.ui.imageLabel.move(10, 10 + int((widget_height - (10 + new_label_height)) / 2))

def resizeEvent(self, QResizeEvent):
# 在窗口刚生成的时候会有一次事件触发,但此时 Widget 的宽高不正确,需要忽略掉此次事件
if self.resize_init_flag:
# The first resize event is illusory
self.resize_init_flag = False
return
self._make_label_central()

def showEvent(self, QShowEvent):
# 窗口显示的时候会触发一次 show 事件,此时调整一次 Label 位置
# 这样不论 UI 里面 Label 的位置如何,都能保证显示时 Label 处于窗口中央
self._make_label_central()

# 在 init 中添加 resize_init_flag 定义
class MainWindow(QMainWindow):
def __init__(self):
...
self.resize_init_flag = True

以及在 class 外定义的函数

1
2
def _get_label_size(label: QLabel):
return label.width(), label.height()

现在运行程序,调整一下窗口大小,可以发现图片会随着窗口尺寸改变而调整尺寸了。

结尾

由于实在找不到优雅的解决方案,只能通过实时监听 resizeEvent 来缩放图像了。欢迎大佬评论留言呆呆我。😋

Author: Syize

Permalink: https://blog.syize.cn/2022/06/11/Lily-radar-painter/

本博客所有文章除特别声明外,均采用 CC BY-NC-SA 4.0 许可协议。转载请注明来自 Syizeのblog

Comments